
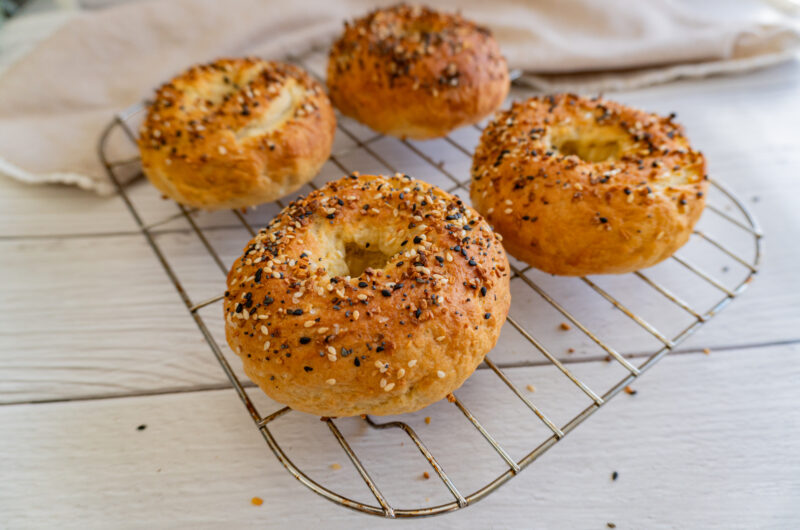
Silken Tofu Bagels (Soft, Fluffy & Easy)
Course: Breakfast, SidesServings
4
servingsPrep time
5
minutesCooking time
25
minutesTotal time
30
minutesCalories per bagel (Approx. 150g serving): 323, Protein: 11.7g, Carbs: 60.5g, Fat: 3.1g
Ingredients
- For the dough:
300g all-purpose flour (~2 cups / 10.6 oz)
290g soft silken tofu (~1 ¼ cups / 10.2 oz)
2 tsp baking powder
½ tsp sea salt
½ tsp garlic powder
1 tbsp water (only if needed)
- For boiling:
4 cups hot Water
½ tsp baking soda
2 tbsp corn syrup (or barley malt syrup)
- For topping:
2 tbsp soy milk
1 tsp maple syrup
Everything bagel seasoning (or topping of choice)
Directions
- Prepare the Dough: In a bowl, combine flour, baking powder, garlic powder, and salt. Mix well.
In a separate bowl, mash the silken tofu until smooth. Add it to the dry ingredients and gently knead with your hands until a dough forms. If the dough feels dry, add about 1 tablespoon of water to help bring it together. - Rest the Dough: Let the dough rest for at least 15 minutes. Meanwhile, preheat your oven to 400°F (200°C).
- Shape the Bagels: Lightly flour a clean surface and knead the dough briefly until smooth. Divide into 4 equal portions and shape each into a ball. Use your finger to create a hole in the center and gently stretch into a bagel shape.
- Boil the Bagels: Bring a pot of water to a boil. Add baking soda and corn syrup. Boil each bagel for about 30 seconds per side, then transfer to a parchment-lined baking tray.
- Add Toppings: Mix soy milk with maple syrup and brush over each bagel (this helps create a golden finish). Sprinkle with everything bagel seasoning and press it down with hands or your favorite toppings.
- Bake: Bake at 400°F (200°C) for about 25 minutes, or until golden brown.
Let the bagels cool completely before slicing. - Slice and enjoy with your favorite toppings — sweet or savory.
- For step-by-step visuals, watch my linked YouTube video where I walk you through this recipe plus 2 more delicious ways to use silken tofu.
Recipe Video
Notes
- If you try this recipe, I’d love for you to leave a review — it really helps me and supports my work! 💛